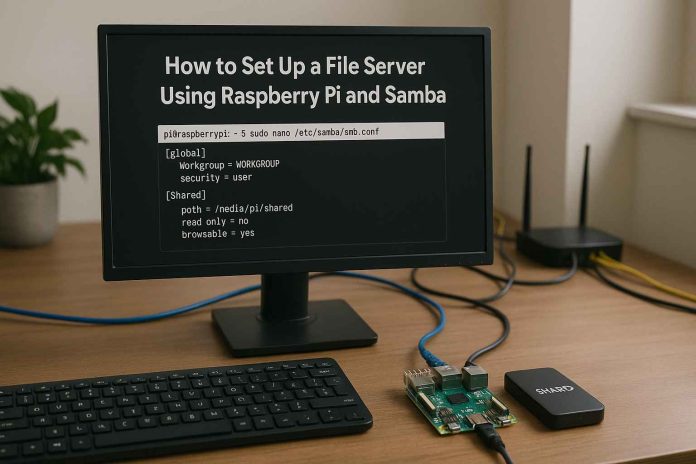
You can easily set up your own file server at home, but it requires some high-quality hardware and time to get started. By using Samba on a Raspberry Pi, you can build a cost-effective file server for your small business without getting squeezed by vendor lock-in or licensing fees. In this guide, we’ll take you through the step-by-step method to transfer your Raspberry Pi to the ultimate file-sharing center, ready for home networks, the media backstage, and even your cloud personal organizer.
- What you will need for this?
- Raspberry Pi Device
- 1 External Storage Like HDD, SSD or USB Flash Drive
- A Stable Network
Update Raspberry Pi:
sudo apt update && sudo apt upgrade -yNext You need to install SAMBA:
sudo apt install sambaNow Identify and Mount Your External Storage:
lsblk -o NAME,FSTYPE,UUID,MOUNTPOINTNext your need to Create a mount point:
sudo mkdir /storageNow Mount it:
sudo mount /dev/sda1 /storageIf you want to Make the Mount Permanently then follow below steps:
sudo nano /etc/fstabNow Add below line with your actual value:
UUID=DA6CA2956CA26BC7 /storage ntfs auto,rw,user,exec 0 0Save and exit (Ctrl + O, Enter, then Ctrl + X).
Configure Samba Share:
sudo nano /etc/samba/smb.confAt the bettom, add below lines:
[myshare]
Comment = Pi shared folder
Path = /storage
Browseable = yes
Writeable = yes
create mask = 0777
directory mask = 0777
Public = yes
sudo smbpasswd -a pi


