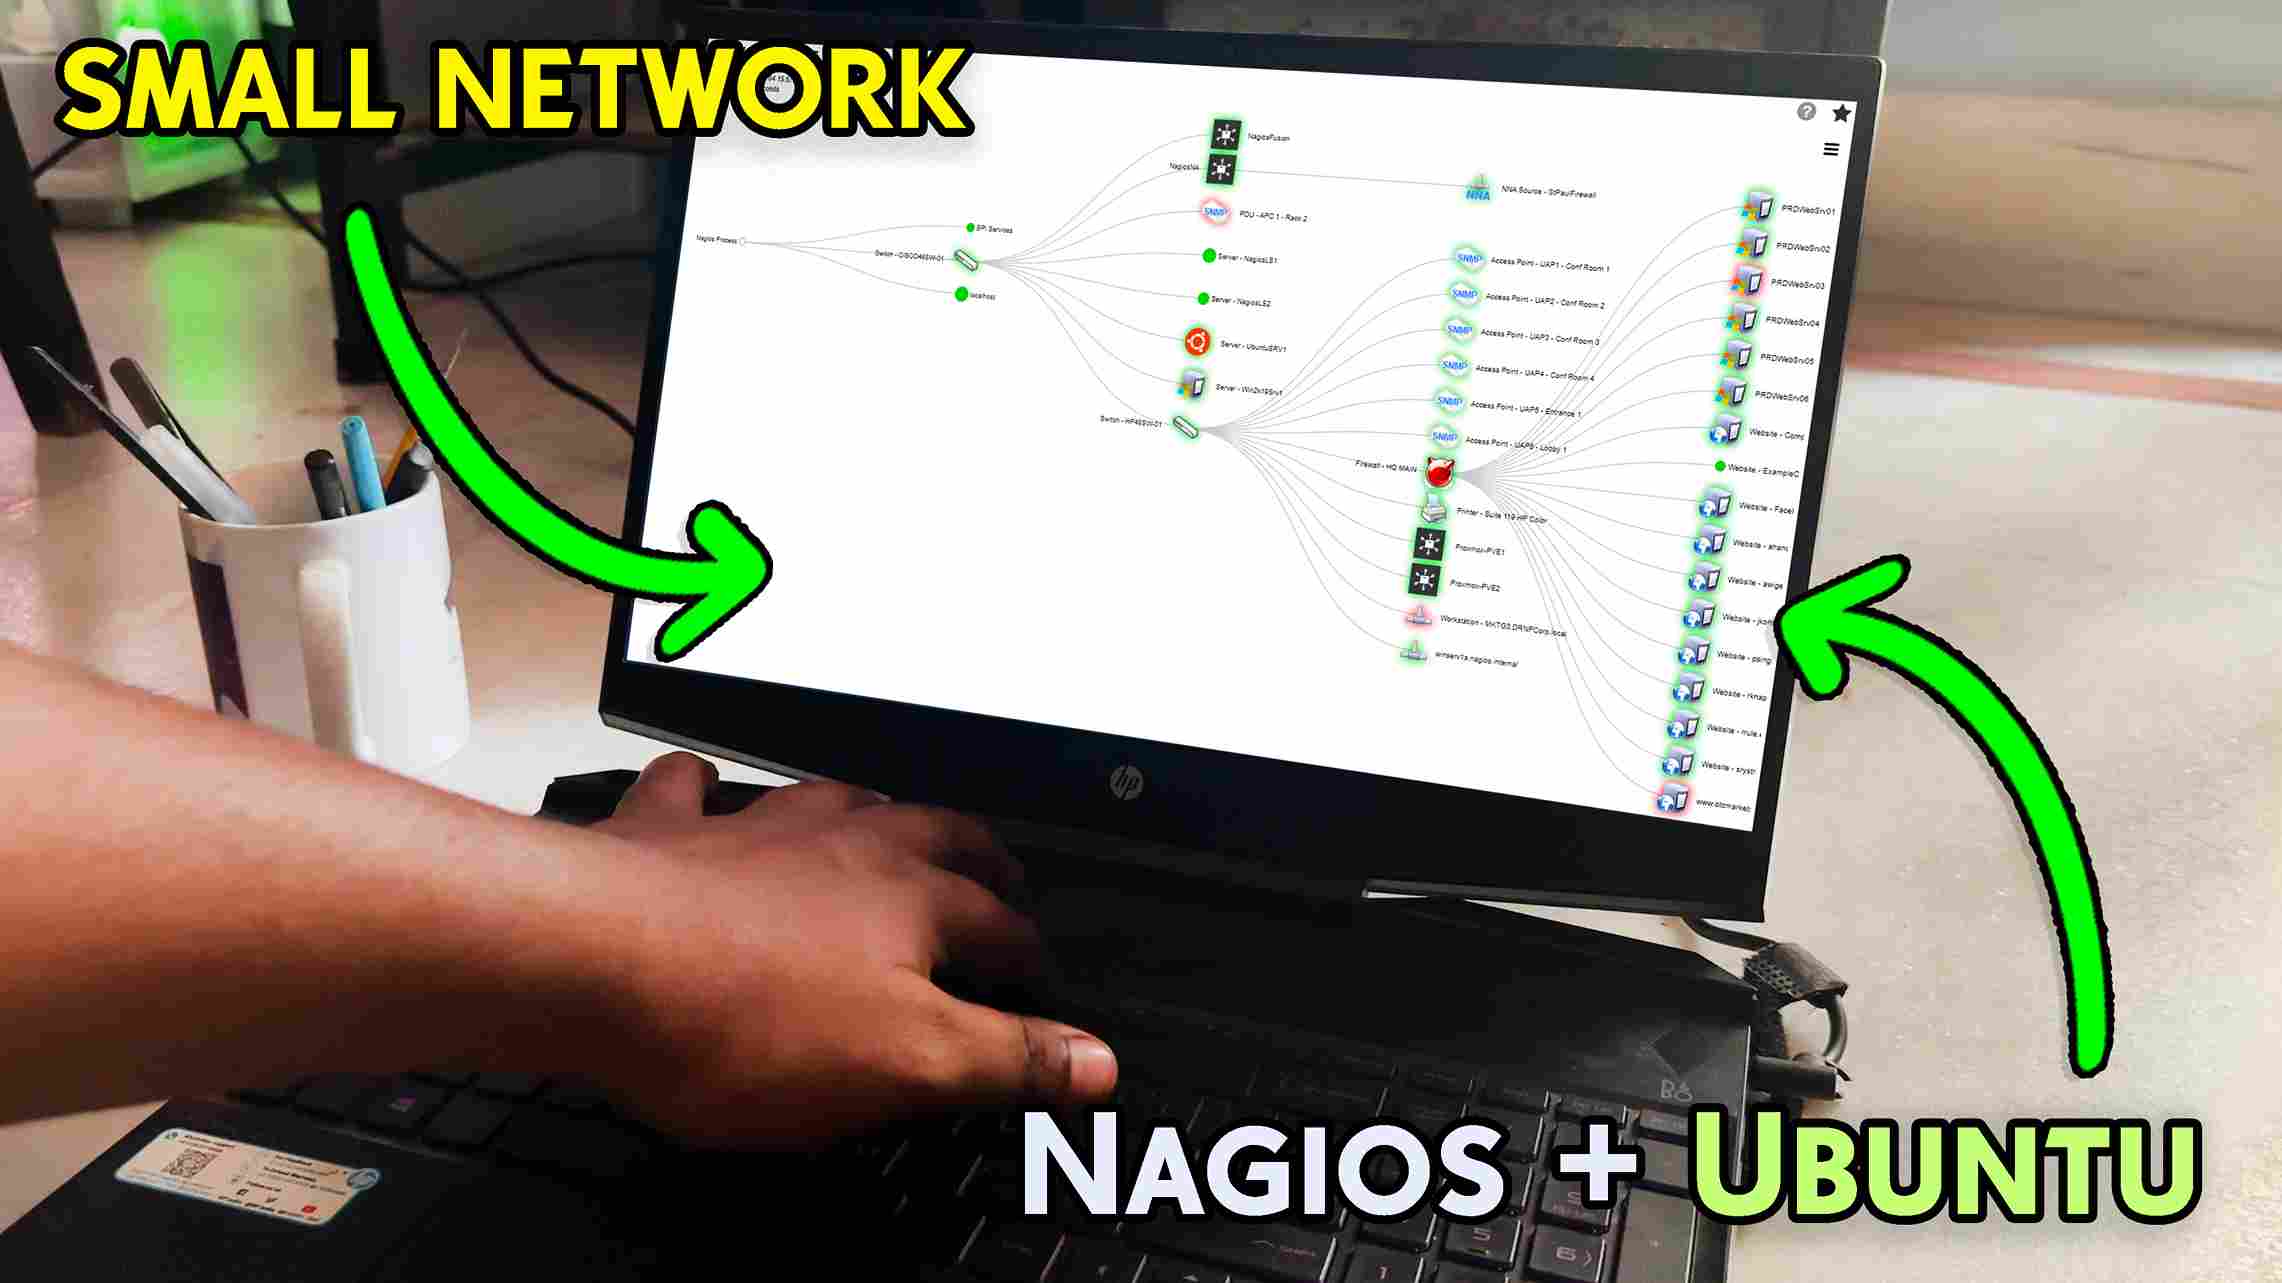
In the present era of a digital world, network monitoring has become very essential to ensure network stability and performance in small business networks. One of the strongest and most common open-source network monitoring tools available is Nagios, which supports monitoring devices, servers, and services effectively.
Step 1: Update Ubuntu Machine using below command:
sudo apt update && sudo apt full-upgrade Step 2: Now we need install all the packages which will help to Nagios
sudo apt install -y autoconf build-essential wget unzip apache2 apache2-utils libapache2-mod-php php libgd-dev snmp libnet-snmp-perl gettext libssl-dev wget bc gawk dc libmcrypt-devStep 3: Create Nagios User and Groups:
sudo useradd nagios
sudo groupadd nagcmd
sudo usermod -aG nagcmd nagios
sudo usermod -aG nagcmd www-data
Step 4: Next We need to download Nagios Source Code:
wget https://assets.nagios.com/downloads/nagioscore/releases/nagios-4.5.1.tar.gzStep 5: Extract the archive:
tar xzf nagios-4.5.1.tar.gzStep 6: Change into the Nagios directory
cd nagios-4.5.1/sudo ./configure --with-nagios-group=nagios --with-command-group=nagcmdStep 7: Command to configure the software for compilation:
sudo make all
sudo make install
sudo make install-init
sudo make install-config
sudo make install-commandmode
sudo make install-webconf
Step 8: Configure Apache for Nagios
sudo a2enmod rewrite cgi
sudo systemctl restart apache2
Step 9: Create Nagios Web User:
sudo htpasswd -c /usr/local/nagios/etc/htpasswd.users nagiosadminStep 10: Install Nagios Plugins using below commands:
wget https://nagios-plugins.org/download/nagios-plugins-2.3.3.tar.gzStep 10: Extract nagios plugins archive:
tar xvf nagios-plugins-2.3.3.tar.gzcd nagios-plugins-2.3.3/
sudo ./configure --with-nagios-user=nagios --with-nagios-group=nagios
sudo make
sudo make installStep 11: Start Nagios Service:
sudo systemctl start nagios
sudo systemctl enable nagios
Make a WEB Based File Server on Raspberry Pi With FileBrowser
Now I will add Windows 11 Host Using NSClient++
Step 1. Goto NSClient++ Website
Step 2. Install NSClient++ on your Windows 11 machine.
During Installation choose the “Complete” installation type
Step 3. Add Nagios Server IP to host field during installation
Goto Services.msc and check NsClientpp service running or not
Step 4. Allow Firewall Ports on Windows 11:
netsh advfirewall firewall add rule name="Nagios NRPE" protocol=TCP dir=in localport=5666 action=allownetsh advfirewall firewall add rule name="Nagios NSClient" protocol=TCP dir=in localport=12489 action=allowOpen the NSClient++ configuration file (nsclient.ini) located in C:\Program Files\NSClient++.
[/settings/default]
allowed hosts = 192.168.0.159  # Allow Nagios server IP


[/modules]
CheckWMI = enabled
CheckExternalScripts = enabled
CheckHelpers = enabled
CheckSystem = enabled
CheckDisk = enabled
CheckEventLog = enabled
CheckNSCP = enabled
CheckNRPE = enabled
CheckNSClient = enabled
Step 5. Restart NSClient++ Service
net stop nscp
net start nscp
Step 6. Open the Nagios configuration file:
sudo nano /usr/local/nagios/etc/nagios.cfgStep 7. Remove the # from the line:
cfg_file=/usr/local/nagios/etc/objects/windows.cfgStep 8. Open the windows.cfg file:
sudo nano /usr/local/nagios/etc/objects/windows.cfgStep 9. Add the following configuration to define your Windows 11 host and services:
define host {
    use                     windows-server
    host_name                youmachinehostname
    alias                    Windows 11 Machine
    address                  ip-address
}

define service {
    use                     generic-service
    host_name               youmachinehostname
    service_description     CPU Load
    check_command          check_nt!CPULOAD!-l 5,80,90
}

define service {
    use                     generic-service
    host_name               youmachinehostname
    service_description     Memory Usage
    check_command          check_nt!MEMUSE!-w 80 -c 90
}

define service {
    use                     generic-service
    host_name               youmachinehostname
    service_description     Disk Usage
    check_command          check_nt!USEDDISKSPACE!-l c -w 80 -c 90
}

define service {
    use                     generic-service
    host_name               youmachinehostname
    service_description     Uptime
    check_command          check_nt!UPTIME
}
Step 10. Restart Nagios Service
sudo systemctl restart nagios.serviceConclusion:
In conclusion, installing Nagios on Ubuntu is a trusted solution for small business networks to guarantee network stability, performance, and proactive fault detection. Whether you are a business owner, system administrator, or technology enthusiast, this configuration assists you in monitoring devices, servers, and services effectively.

")
