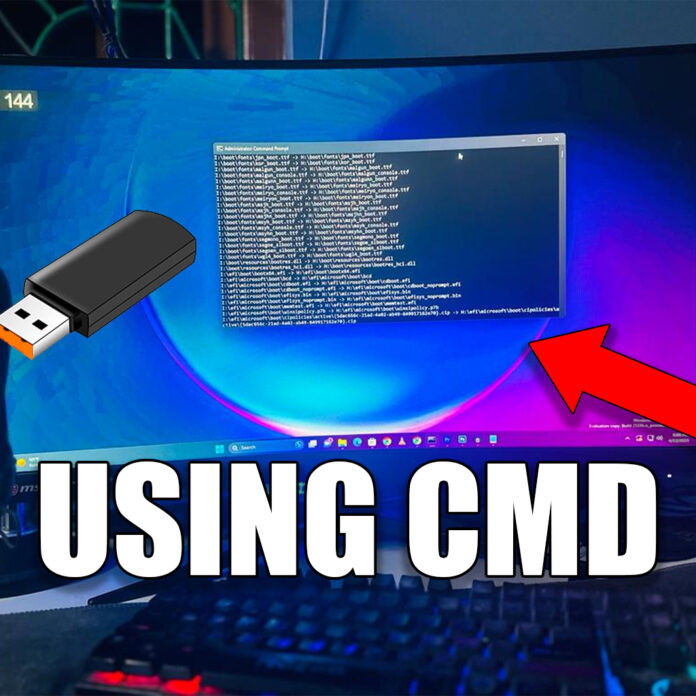
If you want to install Windows 11 on a new computer or update an existing system, you will need to create a bootable USB drive. This allows you to install the operating system on a computer without the need for an optical drive. In this tutorial, we’ll show you how to create a bootable Windows 11 USB drive using CMD (Command Prompt).
Before we begin, you’ll need a few things:
- A computer running Windows with a USB port
- A USB drive with at least 8 GB of space
- A Windows 11 ISO file
Step 1: Download the Windows 11 ISO file First, download the Windows 11 ISO file from Microsoft’s website. Be sure to select the appropriate version for your computer and architecture. Once the download is complete, make sure to note the location of the file on your computer.
Step 2: Connect the USB Drive Connect the USB drive to your computer. Make sure to back up any important data on the drive, as it will be erased during the installation process.
Step 3: Open CMD Prompt as Administrator Next, open CMD Prompt on your computer as an administrator. To do this, right-click on the Windows Start menu and select “Command Prompt (Admin)” from the menu.
Step 4: Run DiskPart Once the Command Prompt window opens, type “diskpart” and press enter to open the DiskPart command-line tool.
diskpartStep 5: Select the USB Drive Now, type “list disk” and press enter to see a list of all the disks on your computer. Find the disk number that corresponds to your USB drive and type “select disk X“, where “X” is the disk number of the USB drive.
list diskselect disk XStep 6: Clean the USB Drive Now, type “clean” and press enter. This will erase all data on the USB drive.
cleanStep 7: Create a Partition Next, type “create partition primary” and press enter. This will create a primary partition on the USB drive.
create partition primarylist partitionStep 8: Select the Partition Now, type “select partition 1” and press enter to select the partition you just created.
select partition 1Step 9: Format the Partition Next, type “format fs=ntfs quick” and press enter. This will format the partition in the NTFS file system.
format fs=ntfs quickStep 10: Assign a Letter Now, type “assign letter=X” and press enter. This will assign a drive letter to the USB drive. Replace “X” with the drive letter you want to assign to the USB drive.
assign letter=XStep 11: Copy the Windows 11 ISO File to the USB Drive Finally, navigate to the location where you saved the Windows 11 ISO file and type “copy I:*.* H:\ /E /F /H” where “D” is the location of the ISO file, and “X” is the drive letter of the USB drive. This will copy all the files from the ISO to the USB drive.
D:cd bootbootsect /nt60 H:copy D:*.* X:\ /E /F /HOnce the copy process is complete, your USB drive is now bootable with Windows 11. You can now use it to install or upgrade Windows 11 on any compatible computer.


