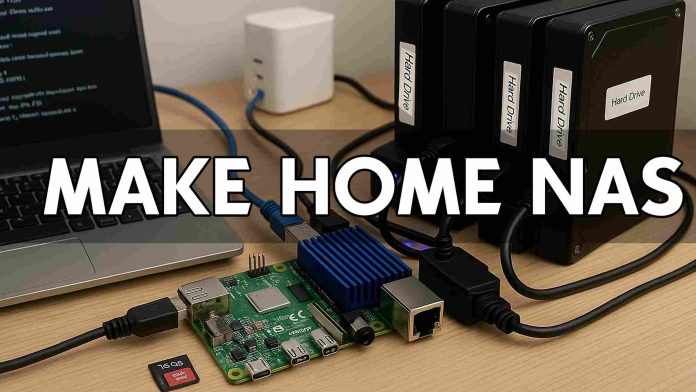
Have you had enough of paying for costly cloud storage services that make it impossible to access your own files with privacy? Envision having your private cloud to which you have total control. A fast, easy-to-discover cloud that is constructed with cheap equipment. In this tutorial, you will be able to create your personal Home NAS in merely 10 minutes with nothing but a Raspberry Pi, pi-hosted and Nextcloud. With this NAS server, you can share, store, and back up all your data in a single location. It may be a set of photos, videos, document files, or even a complete system image. A Raspberry Pi, a very low-powered single-board computer, could function as the foundation for your storage requirements instead of purchasing a high-priced commercial NAS. You may install it with a tool like pi-hosted, a Docker-based deployment platform, and another useful third-party software platform, Nextcloud. With resources like that, even if you are not an expert, creating a server like this is relatively easy. This article will take you through each step of the process: preparing your Raspberry Pi, connecting to pi-hosted, setting up Nextcloud, and external hard drives for storage. You will be able to access your NAS server at home or in a different location if you want it via secure access alternatives. Assembling a NAS with these methods would result in a fast server that performs well while adapting to your requirements. Whether it is for sharing family pictures, working with the group on files, streaming media, scheduling private backups, this NAS server would suffice. It only necessitates a small number of pieces, time, and a desire to discover. Here’s how to create your personalized home NAS if you lack one that is powerful, private, and geared to meet your needs:
sudo apt update && sudo apt upgrade
Install Required Packages:
sudo apt install -y git curl
Install Docker Using Official Script:
curl -sSL https://get.docker.com | sh
Add Your User to Docker Group:
sudo usermod -aG docker $USER
newgrp docker
Clone the pi-hosted GitHub Repo:
git clone https://github.com/pi-hosted/pi-hosted.git
Go to the Portainer Installation Script:
cd ~/pi-hosted
Run the built-in script to install Portainer:
./install_portainer.sh
Access Portainer Web UI:
http://Your_IP:9000
NextCloud Script:
version: '3.9'
services:
  db:
    image: mariadb
    restart: always
    command: --transaction-isolation=READ-COMMITTED --binlog-format=ROW
    volumes:
      - ./nextcloud/db:/var/lib/mysql
    environment:
      MYSQL_ROOT_PASSWORD: example
      MYSQL_PASSWORD: example
      MYSQL_DATABASE: nextcloud
      MYSQL_USER: nextcloud

  app:
    image: nextcloud
    restart: always
    ports:
      - 8080:80
    links:
      - db
    volumes:
      - ./nextcloud/html:/var/www/html
    environment:
      MYSQL_PASSWORD: example
      MYSQL_DATABASE: nextcloud
      MYSQL_USER: nextcloud
      MYSQL_HOST: db
In conclusion
It is not only very affordable but also very empowering to build your own home network area network (NAS) with a Raspberry Pi, pi-hosted, and Nextcloud. You can take complete control of your personal data, lessen your dependency on outside cloud services, and establish a single location for all of your sharing and storage requirements in a short period of time. This configuration offers a dependable, scalable, and secure solution for managing data at home, regardless of whether you’re a tech enthusiast, a privacy-conscious user, or just trying to make use of an old Raspberry Pi.


![Build File Storage Server for Small Company [Ubuntu + Webmin]](https://tricknology.in/wp-content/uploads/2025/05/image-22_11zon-218x150.jpg)
