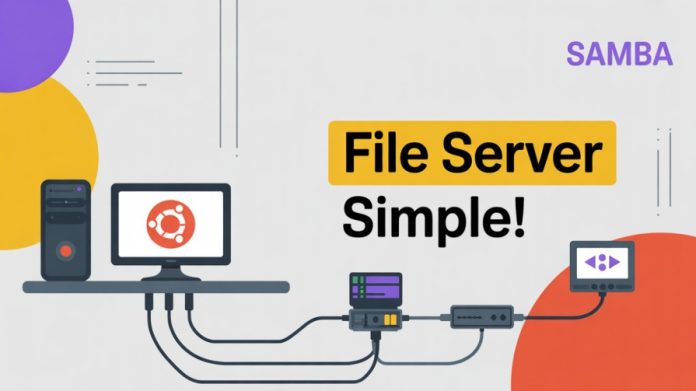
Setting up a centralized file server doesn’t have to be expensive or complicated, especially for small offices or home businesses.
In this tutorial, we’ll show you how to turn any spare or old PC into a fast and secure file server using Ubuntu Server and Samba, an open-source application that allows Linux systems to share files with Windows and macOS devices via a local network. Whether you’re working from home, a small office, or a startup, this is a cost-effective way to manage shared documents, media, and backups from a single computer.
Why Samba and Ubuntu? When combined, they provide a robust yet portable file sharing solution that functions well on low-end hardware. You only need a simple setup and a few configuration steps; you don’t need an expensive enterprise server or complicated licensing.
Installing Ubuntu Server, configuring Samba, making shared folders, and controlling user access are all things we’ll help you with. By the end, your team will be able to work together effectively within your local network, map network drives with ease, and access shared files.
Install Samba on Ubuntu Server:
sudo apt updatesudo apt install samba -yCreate a new Linux user:
sudo adduser officeuser1
sudo adduser officeuser2
Set Samba password for this user:
sudo smbpasswd -a officeuser1
sudo smbpasswd -a officeuser2
sudo mkdir -p /home/shareChange permissions:
sudo chown -R officeuser1 /home/share
sudo chown -R officeuser2 /home/share
sudo chmod -R 770 /home/share
Create a Shared Folder:
sudo mkdir -p /home/shareConfigure Samba Share:
sudo nano /etc/samba/smb.confScroll to the bottom and add this:
[sharing]
comment = Samba share directory
path = /home/share
read only = no
writable = yes
browseable = yes
guest ok = no
valid users = @officeuser1 @officeuser2
Restart Samba Service:
sudo systemctl restart smbdAccess From Windows or Other Clients:
\\<ubuntu-server-ip>\Shared


