Do you ever wonder how well your Windows 11 computer is really performing? There are many factors that can affect the speed and overall performance of your device, including the CPU, GPU, RAM, and hard drive. But how do you accurately measure your computer’s performance?
One effective way to do this is by running a benchmark test. A benchmark test is a type of performance testing that measures the speed and efficiency of your computer’s various components. By running a benchmark test, you can identify areas where your computer may be underperforming and take steps to improve its overall speed and performance.
In this tutorial, we’ll guide you through the process of running a computer performance benchmark test on Windows 11 using the Command Prompt (CMD) and the Winsat prepop command. A Winsat prepop command is a built-in tool in Windows 11 that allows you to measure the performance of various components of your computer, such as the CPU, GPU, RAM, and hard drive.
RUN winsat prepop Command using CMD on Windows 11
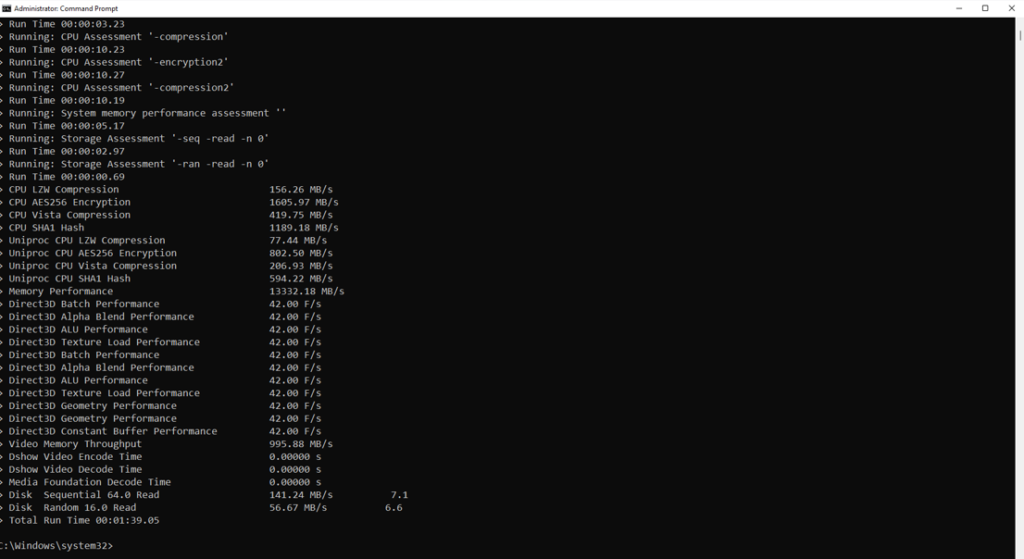
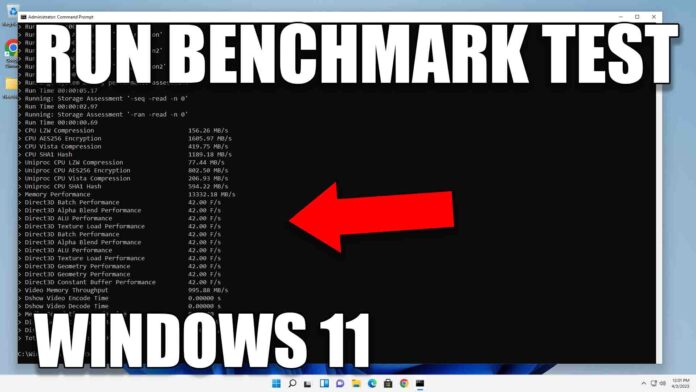
To get started, open the Command Prompt by pressing the Windows key + X and selecting “Command Prompt.” Then, type “winsat prepop” into the Command Prompt and press Enter. This will start the benchmark test and test the performance of your computer’s various components.

During the benchmark test, your computer’s CPU, GPU, RAM, and hard drive will be tested for speed and efficiency. Once the benchmark test is complete, you can review the results and use this information to optimize your computer’s performance.
Interpreting the results of the benchmark test can be challenging, but we’ll guide you through the process step-by-step. We’ll show you how to identify areas where your computer may be underperforming and how to use this information to improve its overall speed and performance.
If you’re interested in learning how to run a computer performance benchmark test on Windows 11, be sure to check out our tutorial and follow along with us. By running a benchmark test, you can ensure that your computer is performing at its best and improve your overall computing experience.


