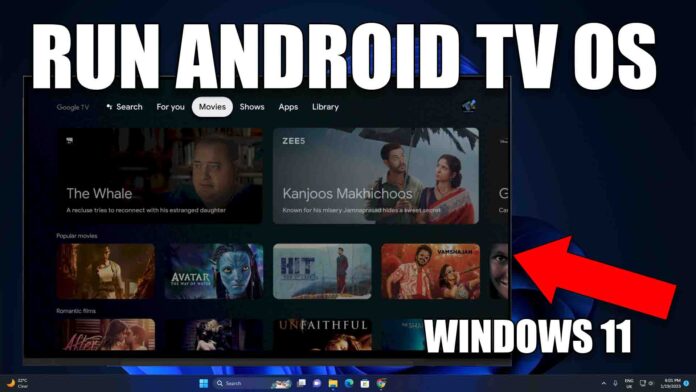
Here’s an article on how to install and run Android TV OS on your Windows, Mac, or Linux PC using Android Studio.
Android TV is a great platform to enjoy TV shows, movies, and games. However, not everyone has an Android TV or smart TV. The good news is that it is possible to install and run Android TV OS on your Windows, Mac, or Linux PC. In this article, we will show you how to do it using Android Studio.
Install Android TV on a Windows PC There are many ways to install Android TV on a PC, but all of them require a specific environment to install and execute. For example, you can download an Android TV Pie ISO and use software to boot Android TV alongside Windows or Linux. Another way is to use a virtual machine.
However, these techniques have some challenges. For instance, the USB flashing method involves booting Android TV from the BIOS, which can be quite technical for some users. Additionally, the latest Android TV ISO image available online is Android 9 Pie, which is quite old. The virtual machine method also has some limitations, such as the inability to use a mouse inside the virtual machine without implementing specific steps.
Using Android Studio One solution to these challenges is to use Android Studio. Android Studio is available for all popular operating systems, and it has the TV category inside the Virtual Device Manager. This feature allows you to run Android TV seamlessly on Windows, Linux, or Mac PC. Here are the steps you need to follow to install Android TV on your system.
Software Downloads Download Android Studio stable build (~900 MB) from the Google developer website. You can use this on Windows, Linux, or Mac.
DOWNLOAD THE ANDROID STUDIO APP
Install Android Studio Run Android Studio setup and click Next. While choosing the components, make sure that the Android Virtual Device option has a tick. Follow the on-screen instructions to complete the setup.
Create and Install Android TV using Virtual Device Manager Once the installation is complete, open Android Studio from the Start menu. Click More Actions and select Virtual Device Manager.
On the Device Manager window, click on the Create Device button located at the top left of the screen.
Select TV from the category on the left side. Here, you have three display resolution choices for the selection. Select Android TV (1080p). If you choose a higher resolution, the overall image size will increase.
Next, select the System Image for the Android TV installation. You can choose any Android version from the recommended list. However, for the latest version, Android 12, switch to the x86 Images tab and click Download.
The Android 12 image size for the Android TV is around 800MB. Once the downloading is complete, Android Studio will unzip the package and start to install Android TV on your PC.
Click Finish to complete the Android TV installation process.
Launch Android 12.0 S Google TV Now that you have created an Android 12 TV instance, it’s time to run it. Click the Play button under the Actions column to boot Android TV.
The Android 12 boot animation will start playing on the screen. Wait for 1-2 minutes for Android TV to boot fully.
Setup Android TV Once the Android TV boots, you’ll be asked to add your Google account. Click Add Account to continue.
Next, input your email and press Enter on the keyboard to proceed. On the next screen, input the associated Google account password and press Enter again.
There you go! You have successfully installed Android TV on your PC. Use the keyboard arrow keys as TV remote buttons and navigate through the TV.
Android TV running on a PC – Impressions Of all the ways to run Android TV on a PC, using Android Studio stands out as the winner. The experience it provides is smooth. The PC configuration also


