
Windows 11 Start Menu Right Click Not Working
Windows 11 has come up with many new features and given its users an entertaining experience. Instead of so many changes users are reporting different issues and Microsoft is patching tests over the issues. A recent report says that users are having problems with the start menu right click not working.
If your mouse works nicely on another PC, there is a chance that the USB port of your Windows 11 PC may be malfunctioning. So try to connect to other external devices such as a USB drive and check if it connects successfully.
Or else press SHIFT+ F10 keys together to Right Click. If, it works that means the problem is with the mouse. If you are unable to use the Right Click functionality on other PCs then it means your Mouse is broken, you should change that.
Before doing research over websites or streaming on YouTube videos first we jump on to Restart our computer and it fixes most random or temporary bugs. There could be many reasons responsible for this annoying issue. It can be an outdated driver, so the possible and easiest solution to mitigate this issue is to update the driver of your system’s mouse.
For this just open Search Bar > type Device Manager and Click on it.
Under the Device Manager window Expand the ‘Mice and other pointing devices‘ by Clicking on them.
Then Right Click on the Mouse > Select the Update driver option.
On the dialogue box that appears, click ‘Search automatically for drivers‘. Now the windows will find and update the drivers If, it is available. Once complete the mouse should be fixed.
Every Problem varies depending on different issues. After repeated research, we brought the best solutions to get rid of this problem.
Here you go…
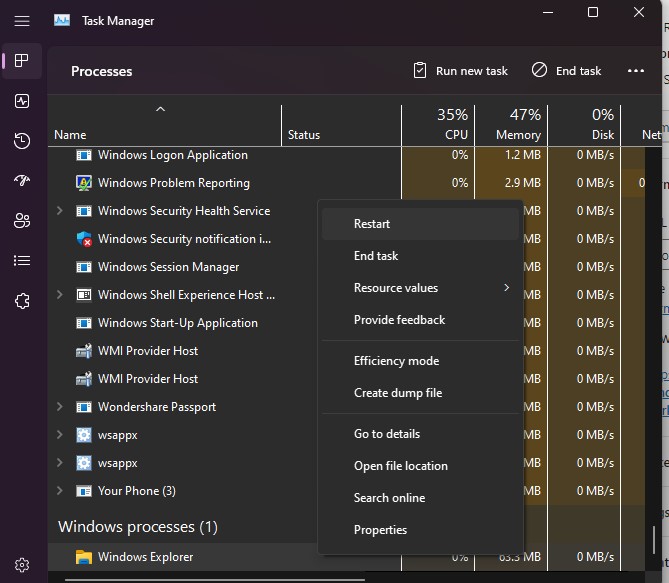
- First open Start menu, type Task Manager and Click on it.
Here under processes just scroll down then Right Click on ‘Windows Explorer‘ > Click on Restart. After following the step check your start menu is working or not.
If, same situation arise on your windows 11 PCs then jump to next step.
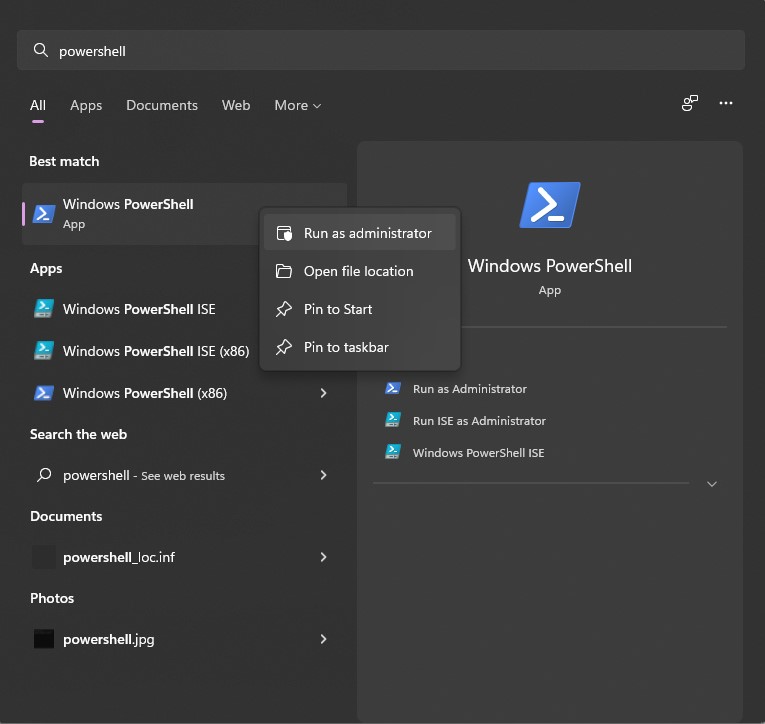
- Go to search bar, type ‘Power Shell‘ > Right Click on ‘Windows PowerShell‘ > Click on ‘Run as Administrator‘ and Click on Yes.
Next type or copy and paste below command
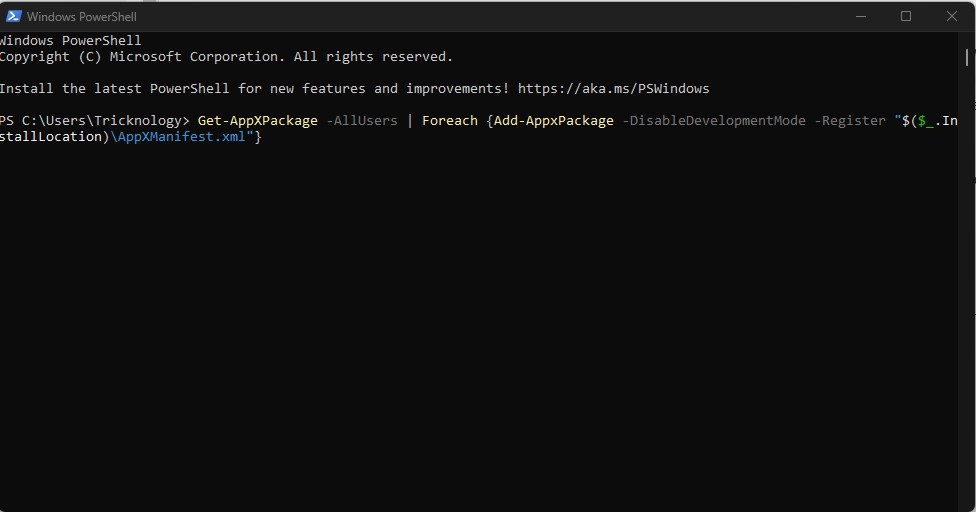
Get-AppXPackage -AllUsers | Foreach {Add-AppxPackage -DisableDevelopmentMode -Register "$($_.InstallLocation)\AppXManifest.xml"}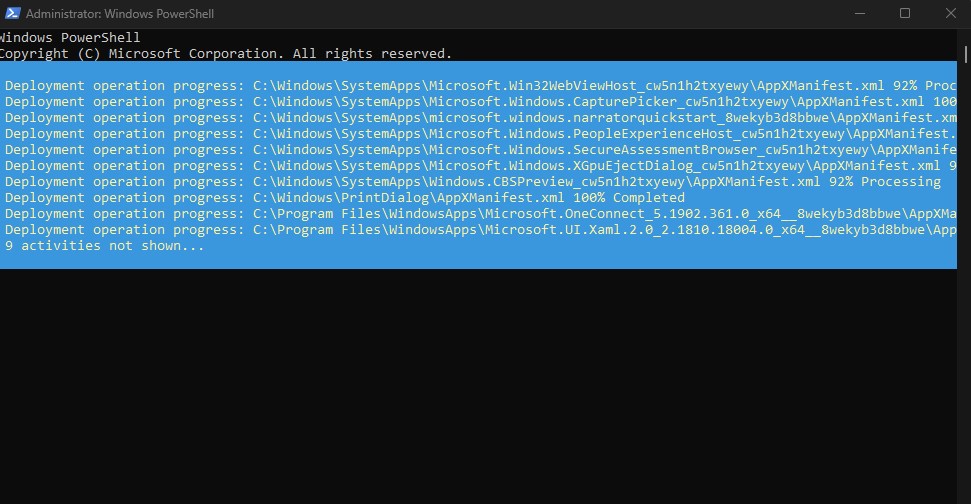
Command and press Enter button on your keyboard.
It will re- Register your start menu. Once done check out your start menu Right Click.
We don’t have much time so we all want things should get done in a jiffy. That’s why I made quicker and easier but perfect solutions for this type of problem.
I believe the steps discussed here in this article will surely gonna help you a lot.
Always be open to communicating with us.
Thanks for visiting…!!


")
